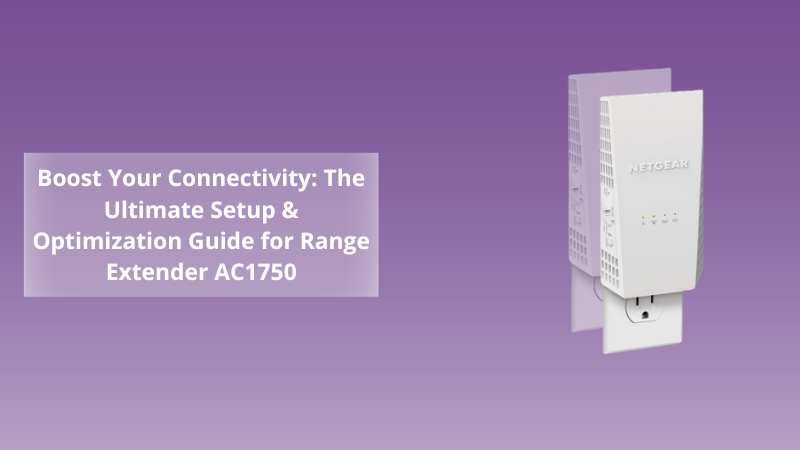
Boost Your Connectivity: The Ultimate Setup & Optimization Guide for Range Extender AC1750
Posted by WifiExtSetup on 16th June 2025
Are you struggling with WiFi dead zones in your home or office? Is your internet speed dropping the moment you move a few rooms away from the router? You’re not alone. Even the best routers can’t cover every corner, especially in larger spaces or homes with thick walls. So, how do you eliminate lag and keep your connection strong wherever you go?
Enter the Range Extender AC1750—a powerhouse device that amplifies your existing WiFi network. But to truly benefit from its potential, you need more than just a plug-and-play setup. This guide walks you through every step to set up and optimize the AC1750 for blazing-fast, reliable internet.
What Makes the Range Extender AC1750 Stand Out?
The AC1750 isn’t just another range extender—it’s a smart, high-performance solution. Let’s break down why it’s one of the top picks for tech enthusiasts and everyday users alike:
-
Dual-Band Coverage: Supports both 2.4GHz and 5GHz bands for maximum flexibility
-
Gigabit Ethernet Port: Ideal for wired connections like gaming consoles or smart TVs
-
Three External Antennas: For extended range and better stability
-
Universal Compatibility: Works with almost any WiFi router
-
Smart Signal Indicator: Helps you find the best placement spot
“The AC1750 doesn’t just repeat your signal—it transforms your internet experience.”
Step-by-Step Setup Guide for Range Extender AC1750
There are two easy ways to set up your AC1750: WPS (Wi-Fi Protected Setup) and Web Browser Setup. Let’s cover both methods.
1. WPS Setup (The Quick & Easy Method)
Want a no-fuss, 2-minute setup? WPS is your best friend.
Steps:
-
Plug the AC1750 into a power outlet near your existing router.
-
Wait for the Power LED to turn solid green.
-
Press the WPS button on your router.
-
Within 2 minutes, press the WPS button on your extender.
-
The Router Link LED will turn solid, indicating a successful connection.
-
Move the extender to an area where the signal is weak but still within router range.
-
Use the Smart LED indicator to find the optimal spot.
2. Web Browser Setup (For Advanced Control)
For users who want to customize SSIDs or are working with a non-WPS router:
Steps:
-
Connect to the extender’s default network:
NETGEAR_EXT. -
Open a browser and go to:
www.mywifiext.netor192.168.1.250. -
Follow the Netgear Genie setup wizard.
-
Select your existing WiFi network and enter the password.
-
You can either keep the
_EXTsuffix or customize your extended network name. -
Save settings and reconnect your devices to the new network.
“Think of it like giving your router a superpower—only smarter, faster, and stronger.”
Optimizing the AC1750 for Maximum Performance
Now that you’re connected, let’s fine-tune your setup for peak performance.
1. Strategic Placement is Key
-
Avoid thick walls, metal surfaces, and microwaves.
-
The best position is halfway between your router and the area with the weakest signal.
-
Keep it elevated and in an open space for better coverage.
2. Keep Firmware Updated
Visit www.mywifiext.net regularly to check for firmware updates. Netgear rolls out performance enhancements and security fixes often.
3. Enable FastLane Technology
FastLane allows you to dedicate one band for communication with your router and the other for your devices—ideal for streaming and gaming.
To enable FastLane:
-
Access the extender dashboard.
-
Select FastLane under settings.
-
Choose the mode that suits your usage pattern.
4. Use Ethernet for Heavy Tasks
Plugging in a device directly to the extender via Gigabit Ethernet ensures faster, more stable speeds. Perfect for online gaming or video editing.
Troubleshooting Tips for AC1750
Issue: Can’t connect to mywifiext.net
Fix: Try 192.168.1.250 And make sure you’re connected to the extender’s network.
Issue: Signal strength is poor
Fix: Relocate the extender closer to the router. Use the signal indicator as a guide.
Issue: WPS not working
Fix: Try the browser setup instead and ensure both devices support WPS.
.🔗 Related Resource
For another powerful solution, check out this setup guide:
🔗 Unleash Full-Speed WiFi: Range Extender EAX14
Explore more setup tutorials, tips, and support at:
🌐 https://www.wifi-extsetup.com
Conclusion: Is the AC1750 Worth It?
If you’re someone who relies on stable internet, whether for work, play, or streaming, the AC1750 Range Extender is a smart investment. It delivers robust performance, is easy to set up, and optimizes your home or office coverage without requiring a complete overhaul of your network.
“The difference between frustration and fluid connection often lies in one smart device.”
So, why suffer through slow spots and poor performance? Give your WiFi the wings it deserves.
FAQs About Range Extender AC1750
Q1. Does the AC1750 support Mesh networking?
No, it functions as a standard range extender but can work seamlessly with mesh-compatible routers.
Q2. How do I reset the extender?
Hold down the Reset button for 10 seconds until the LEDs blink.
Q3. Can I connect wired devices?
Yes, it includes a Gigabit Ethernet port for high-speed wired access.
Q4. Can I use the AC1750 with any router?
Absolutely. It’s universal and works with almost all standard routers.
Q5. Will the AC1750 affect my internet speed?
Not if you place it optimally and use the correct frequency band. It’s designed to enhance, not reduce speed.